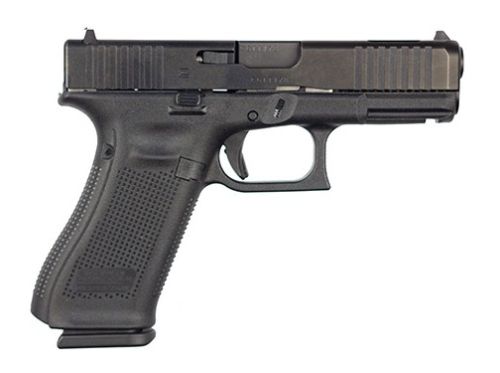
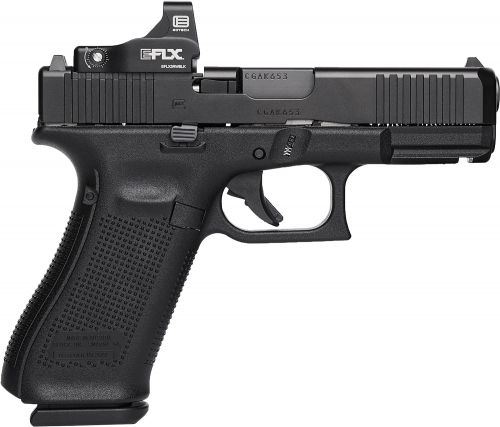
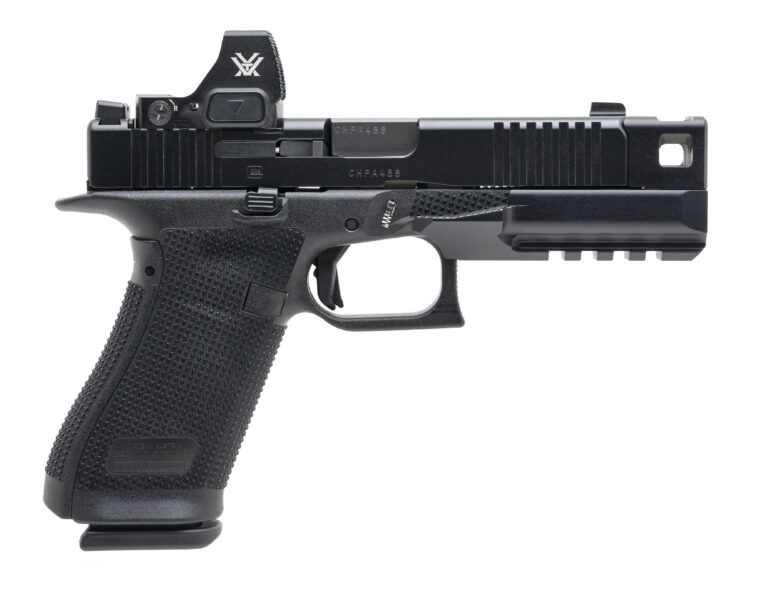
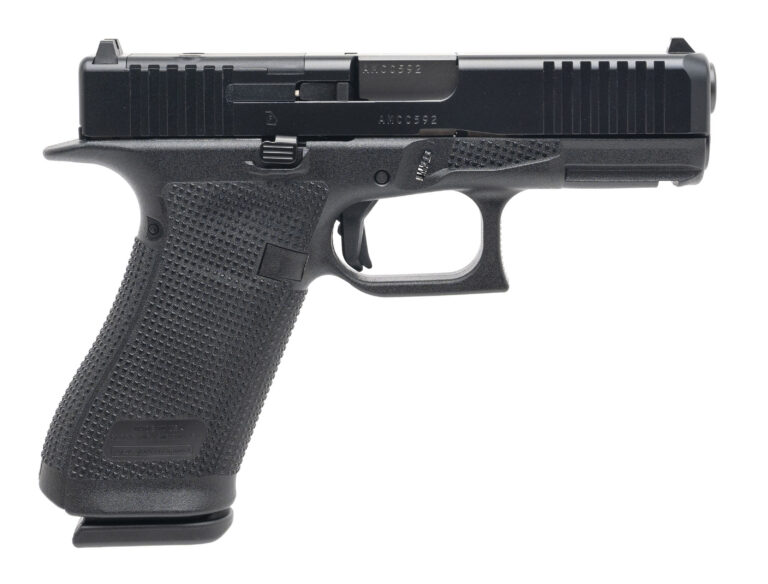
Building a Glock 19 on a serialized frame: parts list
A Glock 19 built from parts is the most common pistol build in the country, because the Gen 3 pattern is the aftermarket's standard and every part is available from several makers. The build takes an afternoon with a punch and a bench block once the parts are in hand. This guide is the full parts list in the order you buy and fit it, the legal basics on the one part that is a firearm, and the checks that turn a box of parts into a pistol you can trust.
The legal basics first
The frame is the firearm. A serialized aftermarket frame in the Glock 19 pattern ships to a licensed dealer, where you complete Form 4473 and the background check exactly as for a complete pistol; you must be 21. Unfinished frame kits that can be readily completed are also firearms under ATF's 2022 rule and go through a dealer; we do not sell unserialized frames. Everything else on this list ships to your door. The finished pistol is yours to own, carry and sell under the same rules as a factory Glock.
1. The frame
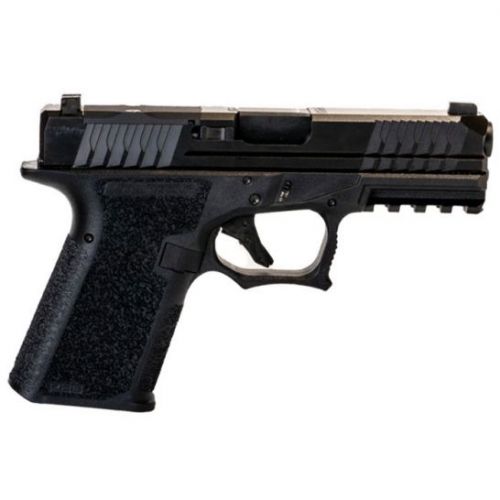
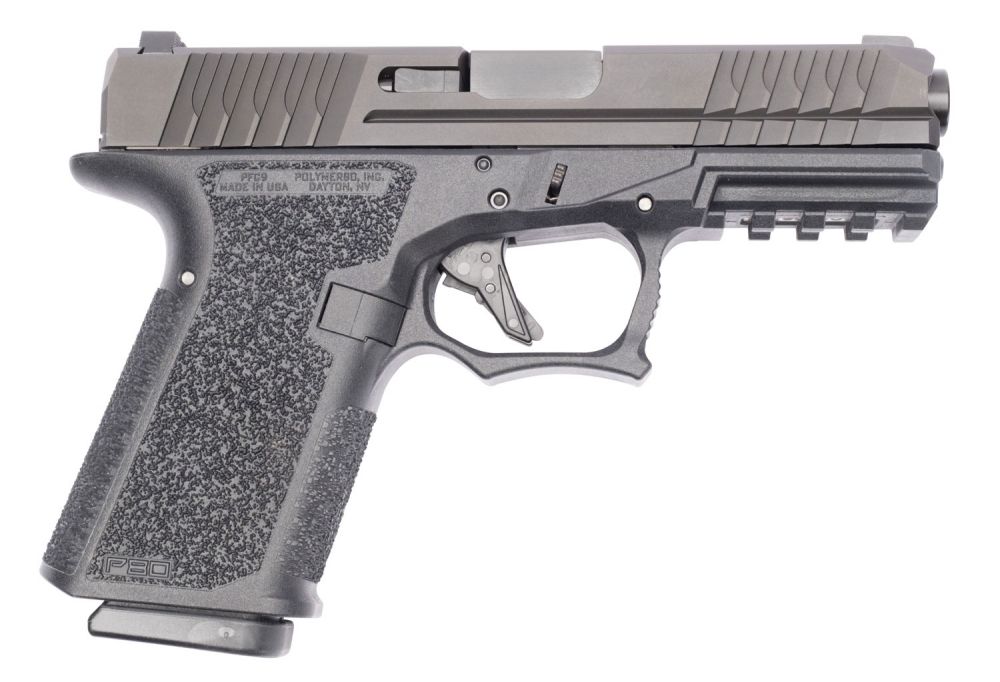
A serialized Gen 3 pattern compact frame from an established maker, or a factory Glock 19 Gen 3 frame stripped from a pistol you own. Aftermarket frames add grip texture, an undercut trigger guard and a different grip angle; check that the maker lists Gen 3 slide compatibility and that the rails are steel. Have it transferred at your dealer before you buy the rest, so you know it is in hand.
2. The frame parts kit
Everything that goes in the lower: trigger with trigger bar, trigger housing with the 9mm ejector, connector, trigger spring, locking block for a three-pin frame, slide stop lever and spring, slide lock and spring, magazine catch and spring, and the trigger, locking block and housing pins. Buy it as a kit for the 19 Gen 3 pattern; the frame parts kit guide lists every piece. Fit the magazine catch and slide lock first, then the housing with the bar and spring, then the locking block and slide stop under the trigger pin, then the housing pin.
3. Slide and barrel
A Gen 3 pattern 19 slide, cut for your optic if you want a dot, with a 19 barrel; a combo pairs them. The combo guide covers cut, thread and finish. Buy it after the frame so you can confirm the fit.
4. The slide completion kit
Striker with spring, cups and sleeve; firing pin safety and spring; extractor with depressor plunger, spring and bearing; channel liner; slide cover plate. Use factory or established-maker parts for the extractor and the firing pin safety. Fit the channel liner first, then the firing pin safety, then the extractor with the plunger behind it, then the striker assembly and the cover plate. The completion kit guide explains each part.
5. Recoil spring assembly
A Gen 3 19 single-spring assembly, or a Gen 4 dual if the slide is cut for the larger tunnel, at factory weight for a full-weight slide and a step lighter for a windowed one.
6. Sights
Steel sights in the standard Glock dovetail and front hole, suppressor height if a dot is planned. Tighten the front with the nut driver and blue thread locker; push the rear in with a pusher.
7. Magazines and optic
Factory or Magpul 15-round 19 magazines, or the compliant version for your state, and the optic for the slide's footprint, mounted with a torque driver and thread locker.
Assembly order
- Frame: magazine catch, slide lock, trigger housing with bar and spring, locking block, slide stop under the trigger pin, housing pin.
- Slide: channel liner, firing pin safety, extractor and plunger, striker assembly, cover plate, sights.
- Barrel into slide, recoil assembly, slide onto frame.
The checks
Trigger safety blocks the trigger from the side. Firing pin safety holds the striker with the slide off. Cruciform sits on the housing shelf with the trigger forward. Slam test on an empty chamber, five times. Reset clicks. Slide locks back on an empty magazine and the magazine drops free. Pull weight measured. Then 200 rounds at the range, including the carry load if it will be carried, adjusting the recoil spring until brass lands three to six feet to the side. Write down the parts and the round count.
Tools for the build
A 3/32 inch punch, a bench block, a 3/16 inch nut driver for the front sight, a rear sight pusher or a club that will lend one, a small flat screwdriver for the connector, blue thread locker, and a torque driver in inch-pounds if an optic goes on. A liner tool presses the channel liner in; a wooden dowel does the same job carefully. Nothing on a Glock needs a hammer, and a build that seems to need one has a part in wrong.
Common first-build mistakes
The trigger spring left off its hook, so the trigger does not return. The slide stop spring not tucked under the trigger pin, so the slide never locks back. The extractor bearing in backward, so brass goes everywhere. The firing pin safety plunger in upside down, so the striker binds. Each shows up on the checks below, and each is a two-minute fix once you know to look.
What it costs and what it is worth
A build costs a little more than a factory Glock 19 in parts and gives you a pistol with an optic-cut slide, a match barrel, steel sights and a tuned trigger that would cost far more to reach from a factory gun. Bundles bring the price down; see when a kit beats buying separately. Browse frames, slides and completion kits; frames ship to your dealer, everything else to your door.
General information, not legal advice. Current as of September 2026. Laws change; check the official source before you act.